Sally Hansen's Global Nail Ambassador, Madeline Poole, shows us an easy peasy way to do a gradient mani. Imagine the fun you'll have in Boots...
Nail it for the weekend! A step-by-step guide to Sally Hansen's gradient mani
 1 of 4
Step One
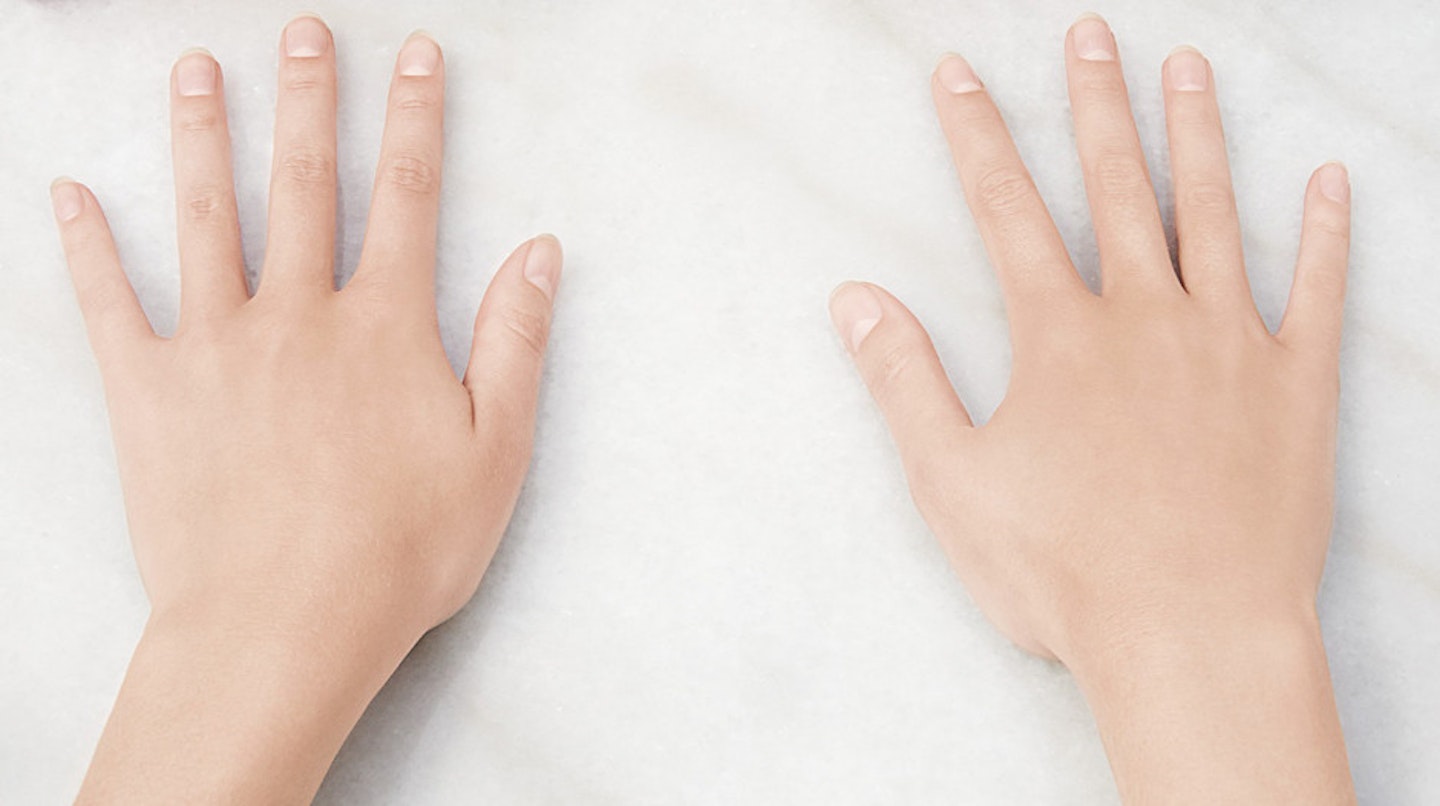
"Lay out your colours next to each finger to organise the process. The darkest colour will be on your left thumb, the lightest colour on your right thumb. The second darkest colour will be on your right pinkie while the second lightest colour will be on your left pinkie. This flip-flopping pattern continues down the hand. Prep nails first with a base coat before starting to paint."
 2 of 4
Step Two
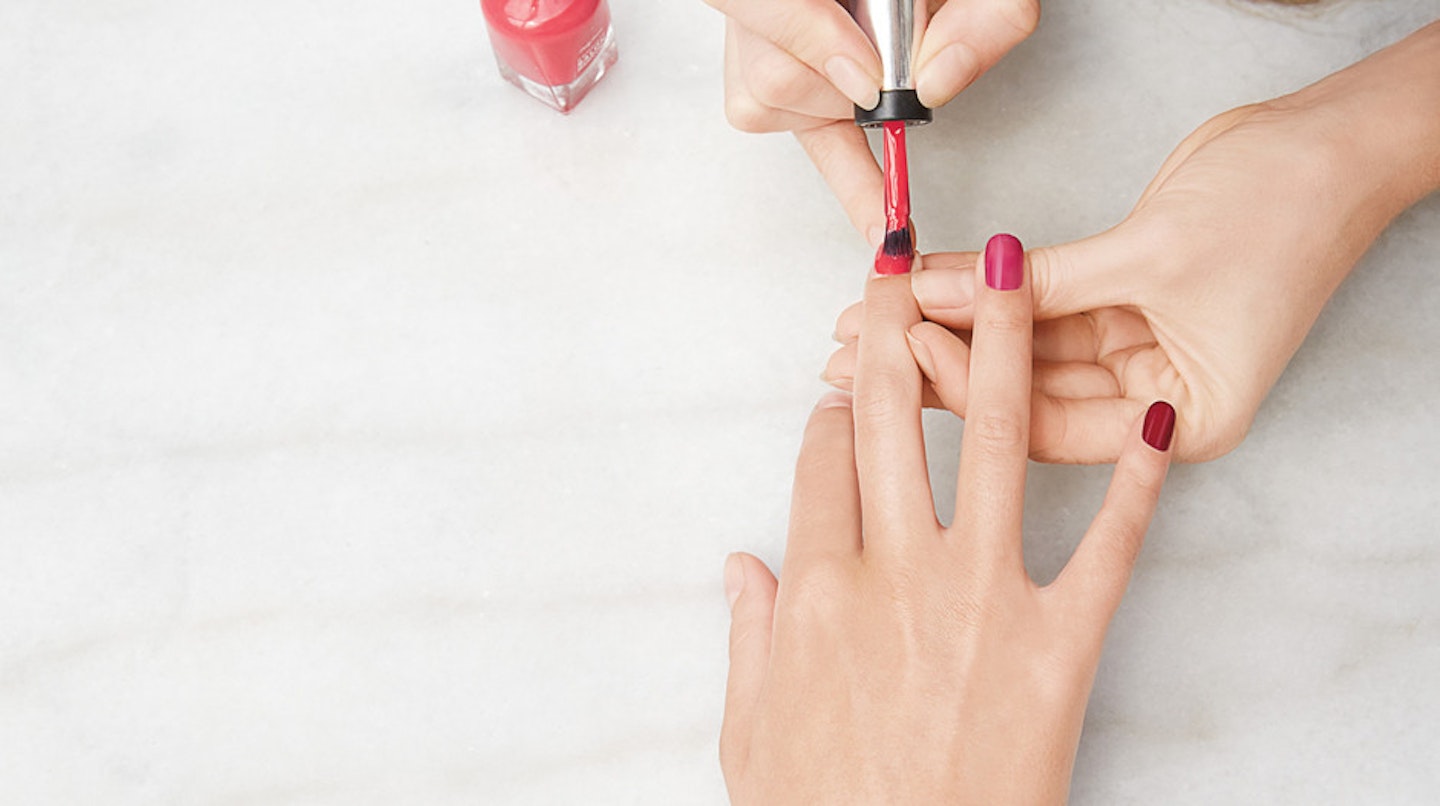
"Paint one coat of each colour on the corresponding finger then repeat and apply a second coat. I'll be using Sally Hansen Complete Salon Manicure Nail Colours in Get Juiced, Berry Important, Red Handed, Pat On The Black and Arm Candy, £6.99 each."
 3 of 4
Step Three
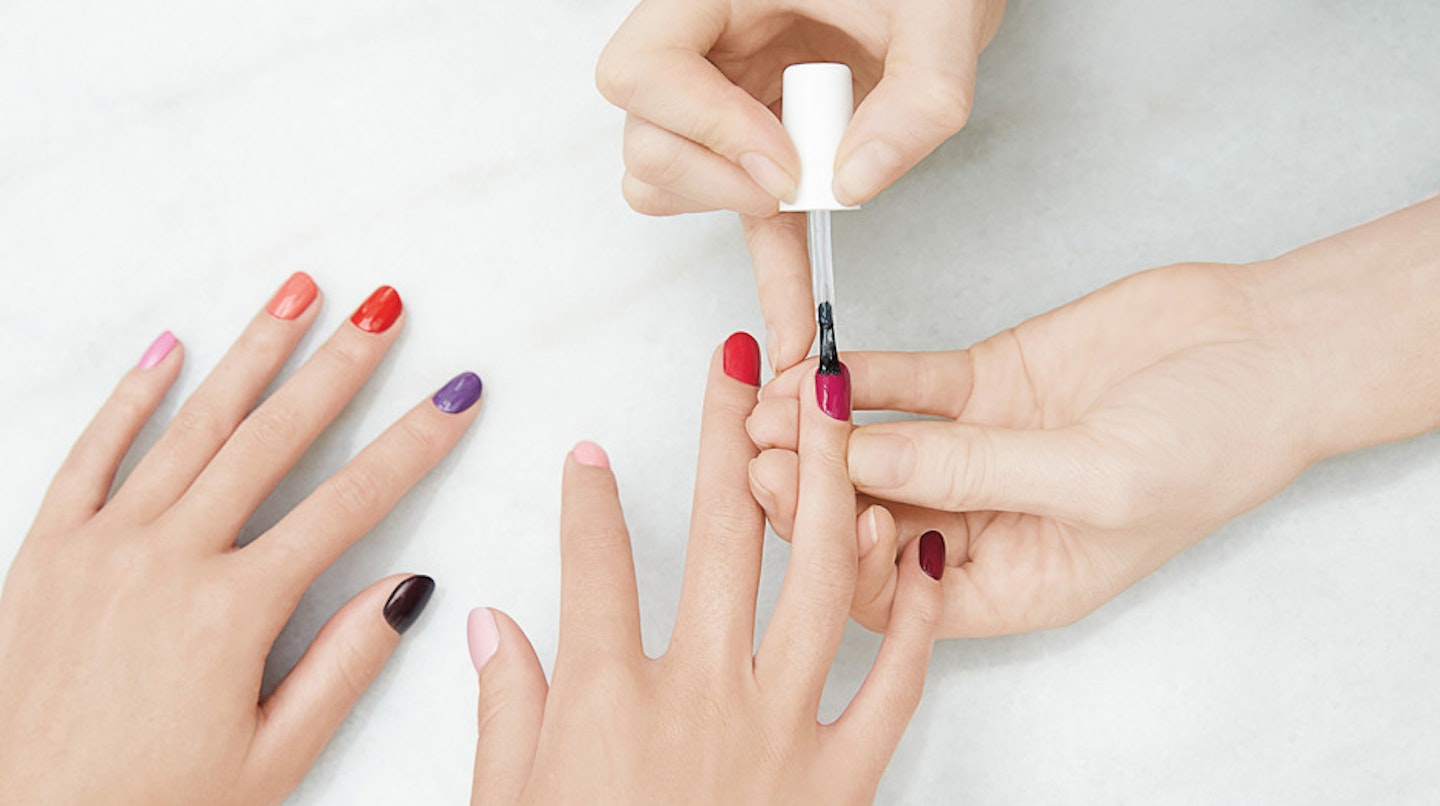
"Apply a quick-dry top coat like Sally Hansen Insta-Dri, £5.99, to finish the look and give your nails a shiny and glossy finish."
 4 of 4
Step Four
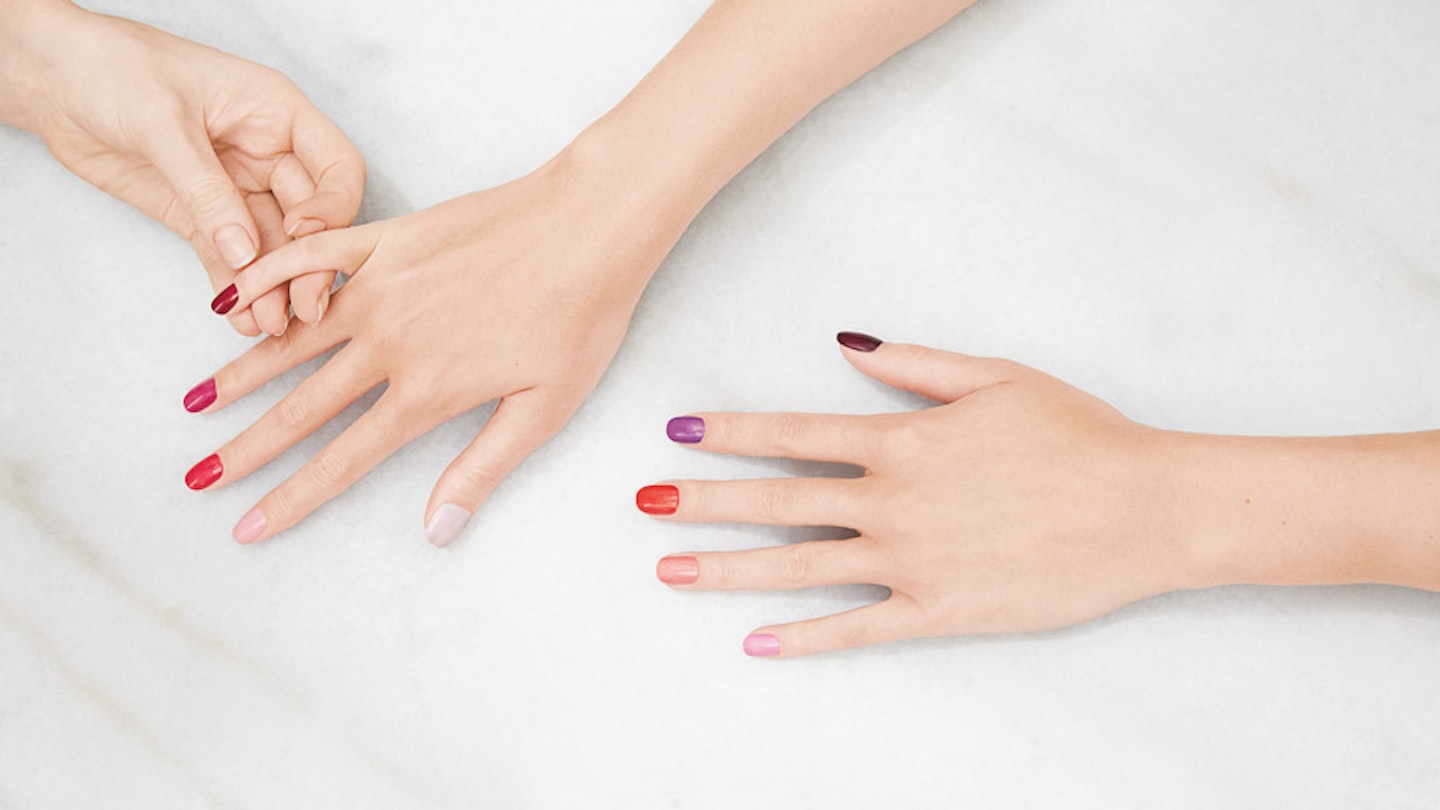
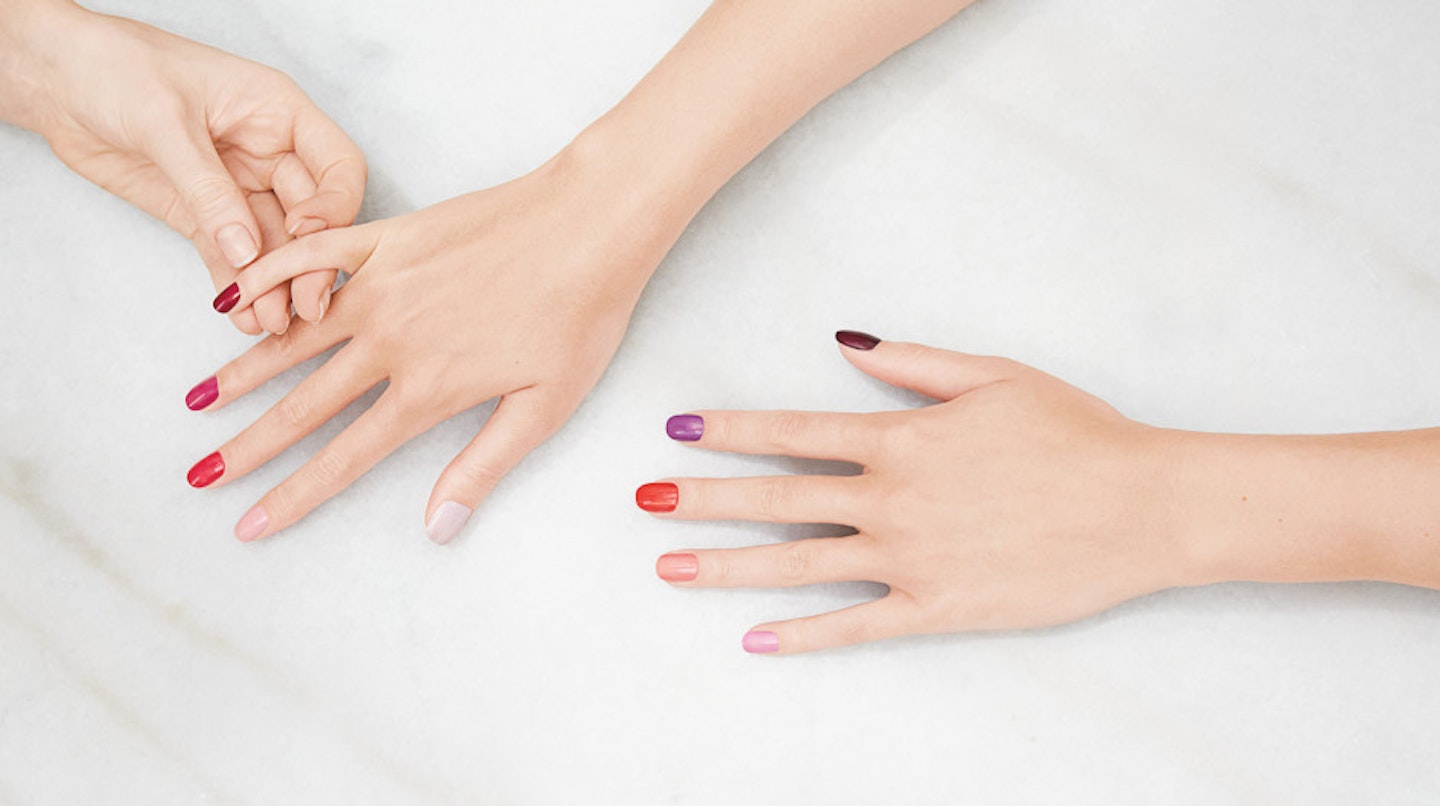
"To reveal the pretty gradient, interlace your hands with your left hand on top and left thumb as the first finger."